Steps to create an AdSense account:
AdSense has recently changed the account approval process to include the following steps:- Sign up for AdSense
- Add AdSense ads to your blog
- Wait while your account is reviewed and either accepted or rejected
It is also important to make sure your blog or website is abiding by AdSense policies before applying.
Also, be sure to read the terms and conditions mentioned on the signup page to learn more.
Step-by-Step Guide to Creating an AdSense Account:
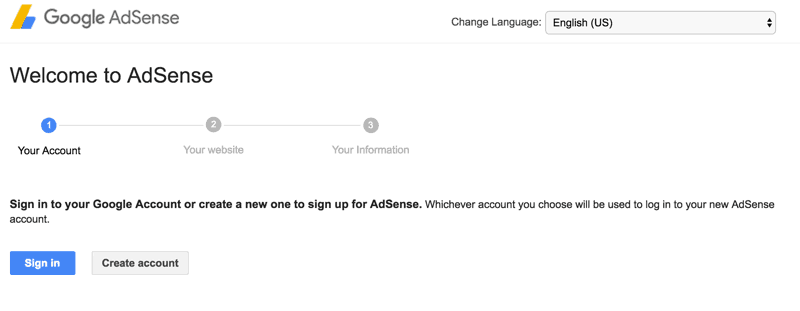
First, go to the Signup page for AdSense.You will see an option to create a new Google account, or you can choose to use your existing Google account.
Note: If you have a custom domain name & you are using Google Apps for your domain email address, I suggest you use that to sign up for your AdSense account. When you use domain specific email addresses (admin@domain.com), the chances of getting your AdSense application approved is increased by a factor of 3.
Otherwise, you can use your existing gmail address.
Website Details:

This form is straight-forward. You simply need to enter your website address and select the content language. For the website URL use your blog address, and make sure to add it without “http://”.
AdSense contact information:

This is the most important part.
I remember making a couple of mistakes at this part when I first signed up. Hopefully, if you follow this guide, you won’t make the same mistakes.
The “payee name” is very important. Make sure to use the same name under which you have a bank account, as AdSense will be sending you checks or EFT payment under that name.
If you make a mistake here, changing the payee name of your account will be difficult in many countries, including India.
- Here is the list of countries which are not allowed to change the payee name after signing up.
Next add your contact information and fill in the other details.
Accept AdSense policies:

Read the AdSense policies and put a checkmark in all three boxes.
Once done, click on “Submit”, and on the next page you can review your details.
Make sure that all the details are accurate and up to date!
Signing up with your email account:

You can use your current email address to sign up, or you can create a new gmail ID just for AdSense. For fast approval, I would suggest you to use ZohoMail, and create a free domain-specific email address.
- Read: How to create free domain specific email using ZohoMail
(Must read: Google AdSense new account approval process)

Once you have signed up for AdSense, you need to add AdSense codes to your blog. The AdSense team will review your application again after you add the codes, and your account will be activated with an Adsense Pin that will be sent to you.
All of this takes approximately 1-2 months depending upon your geographical location.
Once everything is set up, in order to get paid from AdSense you need to complete two further steps:
- Submit your tax information
- Enter your pin

AdSense Pin:
You will receive an AdSense Pin by mail once you reach the threshold of $10. You need to add the pin to your AdSense account.You will start receiving payment once your AdSense account reaches the $100 threshold.
You should read this guide to learn about enabling direct bank deposit for your AdSense account.
- For Indian site owners, read:
- How AdSense pays in India
- How to enable direct bank transfer for AdSense payment in India
If you do not yet have a blog, you can refer to my previous tutorial on How to Install & Setup a WordPress Blog, and finding The Best WordPress Themes for AdSense.
Have any questions regarding the AdSense account creation process? Feel free to ask me via the comments section!

EmoticonEmoticon